
The #1 App In 2017 For Timing The American Total Solar Eclipse!


Step 3 - The Exposure For Baily's Beads and the Diamond Ring.
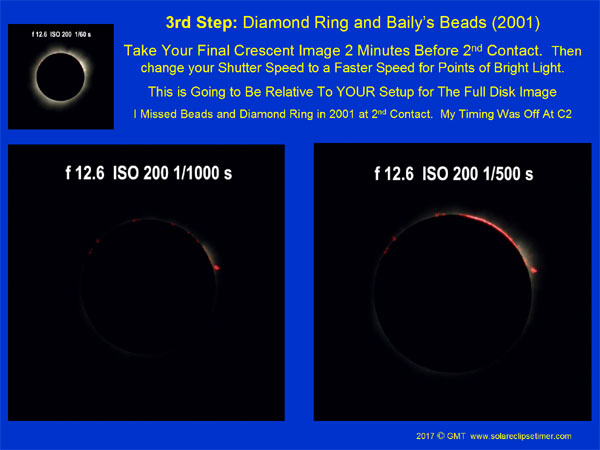
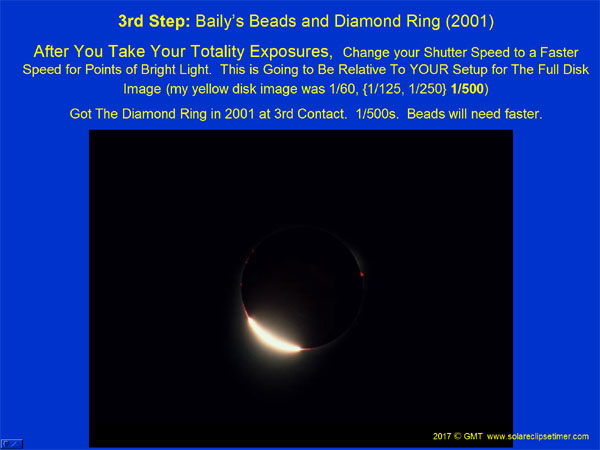
The exposure you get after testing with YOUR gear for the yellow Sun disk image lets you have an idea about the exposure for the inner corona. Remember, this is based on my experience with Thousand Oaks glass filters. This, in turn, gives you and idea about your exposures going into C2 and coming out of C3 for the diamond ring effect and Baily's beads. These are VERY bright points of light and you have to have a fast shutter speed to capture these and expose them correctly. You need to have that shutter speed already set on your camera prior to C2, you will not have time to change here. The ring and beads phase is over in few seconds!
You will pop off your solar filter at about 12 to 15 seconds before C2 and start taking exposures rapidly until it's full totality. Then you will bracket for totality, which is the subject for my next post, Step 4. About 12 seconds before C3 (you will already have your shutter speed back to this fast setting) you will start taking rapid exposures until it gets light out again and totality is over, now replace your solar filter.
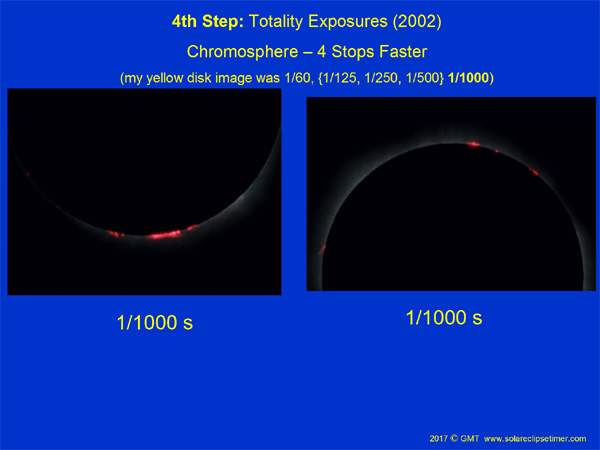
For my analysis with my gear (1000mm, f-12.6, ISO 200) my yellow Sun disk image was 1/60 second. Then I when look at my chromosphere, beads and ring images, I was at either 1/500 second or 1/1000 second. Beads maybe would have be taken at 1/2000 seocond. So, with YOUR setup, YOUR Sun disk image exposure shutter speed, you will know that you should have your camera shutter speed 3 to 5 stops faster (by shutter speed). This will also be a good shutter speed at the beginning of totality for chromosphere and prominences.
You will use this shutter speed going into C2 and coming out of C3. I will discuss more about dealing with timing and filters in another post.
Copyright 2002 - 2019 Gordon Telepun and Foxwood Astronomy, LLC
Solar Eclipse Timer and the Solar Eclipse Timer logos are Resistered Trademarks of Gordon Telepun.
The Solar Eclipse Timer banner art and all other art related to the Solar Eclipse Timer website and mobile applications are protected by copyright.